Awning Window Cost
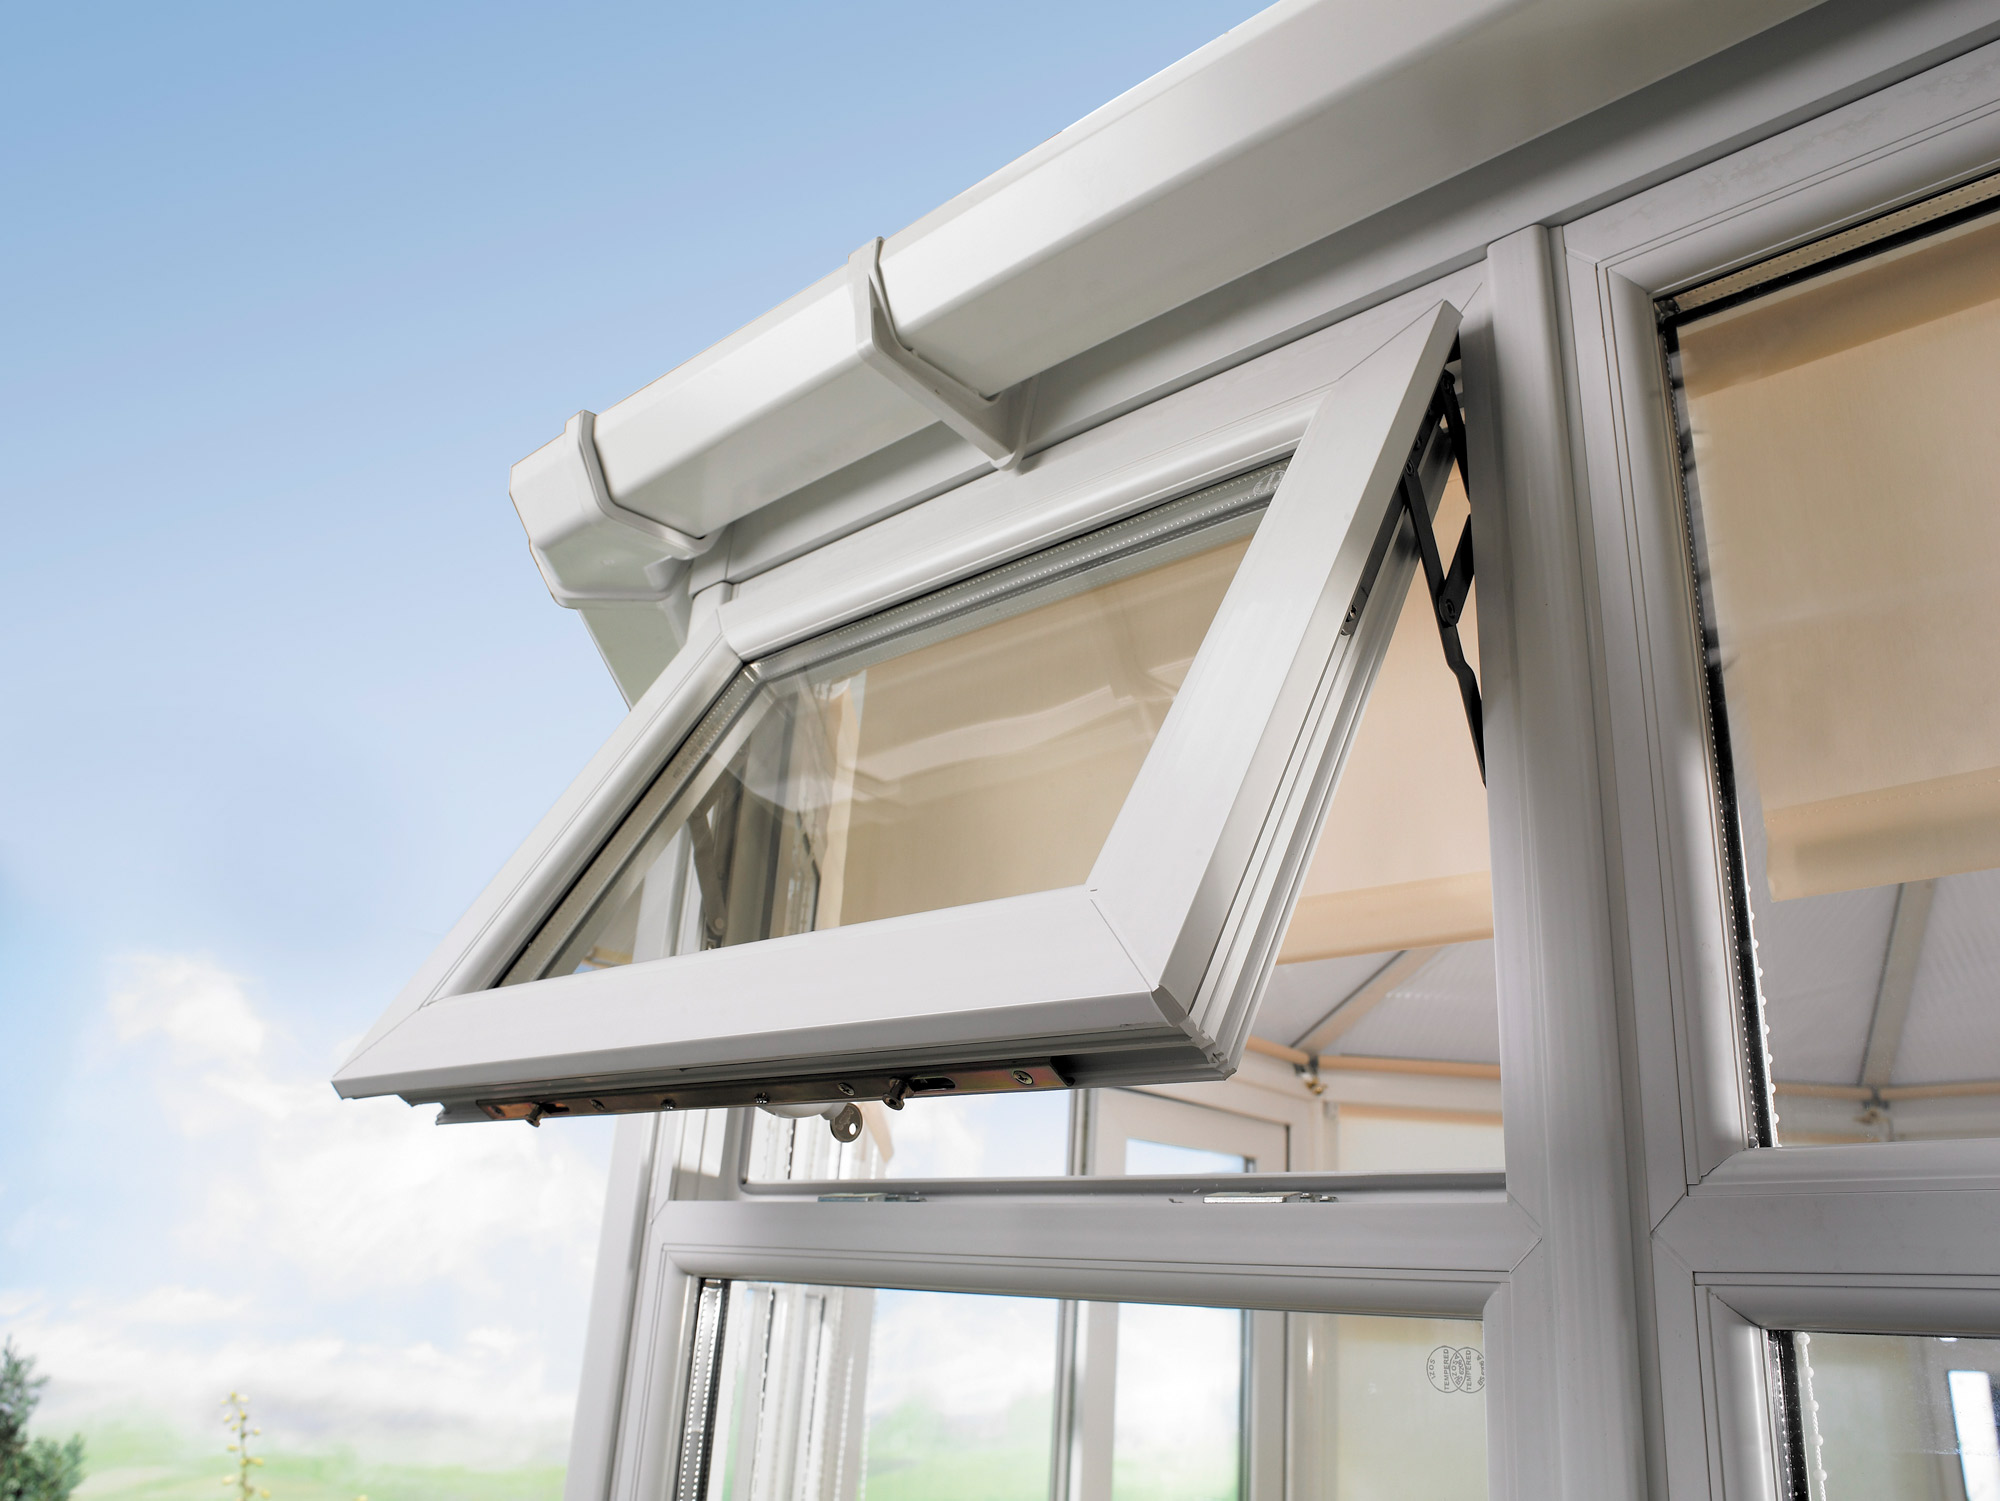
A window that is hinged at the top and opens outward from the bottom, providing ventilation while offering protection from light rain.
Average Price Range
Energy Rating
Security Rating
Typical Lifespan
A window that is hinged at the top and opens outward from the bottom, providing ventilation while offering protection from light rain.
Advantages
- Can remain open during light rain
- Good ventilation
- Effective when space outside is limited
- Works well in combination with fixed windows
Disadvantages
- Limited opening range
- Not suitable for emergency egress
- Cannot be left open in high winds
Best Suited For
Bathrooms and kitchens
Basements
Above fixed windows or doors
Areas needing rain protection
Awning Window Replacement Costs
The table below shows average replacement costs for Awning Window windows of different sizes, including supply and installation. Prices may vary based on specification, glazing options, and your location.
| Window Size | Supply Only | Installation | Total Cost | Time to Install |
|---|---|---|---|---|
| Small (600 × 900mm) | £375 | £150 - £250 | £575 | 2-3 hours |
| Medium (1000 × 1200mm) | £650 | £200 - £300 | £900 | 3-4 hours |
| Large (1200 × 1500mm) | £1,000 | £250 - £350 | £1,300 | 4-5 hours |
| Extra Large (1800 × 2100mm) | £1,425 | £300 - £450 | £1,800 | 5-6 hours |
Cost Factors
Factors that increase cost:
- Triple glazing (+15-25%)
- Acoustic glass for noise reduction (+10-20%)
- Enhanced security features (+5-15%)
- Custom finishes or colors (+5-10%)
Ways to save on cost:
- Multiple window replacement discount (10-15%)
- Standard sizing rather than custom dimensions
- Off-peak installation (winter months)
- Comparing quotes from multiple installers
Cost Comparison by Material
Different materials affect both the initial cost and long-term value of your Awning Window windows. Below we compare typical costs and benefits:
| Material | Price Range | Energy Efficiency | Lifespan | Maintenance |
|---|---|---|---|---|
| uPVC | £520 - £650 | Good (A-C) | 20-25 years | Low |
| Aluminum | £780 - £975 | Good (B-C) | 30-40 years | Low |
| Timber | £910 - £1170 | Good (B-C) | 30+ years | Medium-High |
| Composite | £1040 - £1300 | Excellent (A+) | 30-40 years | Low |
Long-Term Value Considerations
While uPVC is typically the most affordable option for Awning Window windows, materials like timber and composite may offer better long-term value when considering lifespan, property value enhancement, and energy savings.
Initial Investment
uPVC offers the lowest upfront cost, while composite materials represent the highest initial investment.
Energy Savings
Composite and modern timber windows often provide the best thermal performance, resulting in higher energy savings.
Property Value
Timber and composite windows typically add more to property value, especially in period properties.
Key Features
Hinged at top, opens from bottom
Can be left open during light rain
Often used in combination with other windows
Good for small spaces
Opening Mechanisms
Top-Hinged
Window opens outward from a top hinge.
Advantages
- Allows ventilation during light rain
- Secure opening option
- Less affected by wind
Disadvantages
- Limited opening angle
- Not suitable for emergency exit
Maintenance
Maintenance Requirements
Low - simple hinge mechanism needs minimal maintenance
Typical Lifespan: 20-25 years
Material Options
Excellent Compatibility
uPVC
Excellent Compatibility
Common and practical combination
Aluminum
Excellent Compatibility
Good for modern buildings and extensions
Good Compatibility
Timber
Good Compatibility
Works well in traditional properties
Composite
Good Compatibility
Less common but excellent performance
Installation Guide
Installing Awning Window typically involves measuring the window opening, removing existing windows, preparing the opening, and installing the new window frame. Professional installation is recommended to ensure proper fitting, sealing, and functionality.
Installation Process
- Measuring - Accurate measurement of the window opening
- Removal - Careful removal of existing windows
- Preparation - Clean and prepare the window opening
- Installation - Position and secure the new window frame
- Sealing - Apply proper sealing to ensure weatherproofing
- Finishing - Complete internal and external finishing work
- Testing - Check operation and make adjustments
Professional Installation
Professional installation ensures proper fitting and sealing
Installers have the right tools and equipment for the job
Installation typically takes 1-2 days depending on the number of windows
Professional installation often includes warranty and after-service